FIELD NOTES
Ice Fishing with an Underwater Camera: What Actually Changes
It's minus fourteen on Lake Ķīšezers, the auger has been doing its work, and you've got a jig tied on and three holes cleared. The camera goes down first. You lie on your side with one glove off, phone propped up on a tackle box, and for the next three hours you stop guessing. You start watching.
That's the shift. For most of the history of ice fishing, the top of the hole was the edge of knowable world. You dropped a lure into a black circle and waited for a rod tip to twitch. An underwater camera doesn't promise more fish. It promises you'll understand the fish you're already over. Those are two different things, and the second one is what turns a blank day into a lesson.
Why ice is the perfect environment for a camera
Underwater cameras behave better under ice than in almost any other setting. The water column is usually calm. There's no surface chop, no current, no drifting boat. Visibility in winter is often exceptional — suspended plankton dies back, sediment settles, and in clear Baltic lakes you can see ten metres comfortably. On a bright day in February on a Finnish lake near Kuopio, I've had clean footage looking forty feet down a steep drop-off. You don't get that in July.
The second advantage is pace. Ice fishing is inherently static. You drill a hole and commit to it. That's exactly the kind of fishing where a camera earns its keep. When you're moving every cast on open water, rigging a camera is a hassle. Through the ice, you lower it once, clip the cable to something heavy, and leave it working.
The third is physics. Your rod hole and your camera hole don't need to be the same one. A second hole, drilled a metre or two from where you're fishing, gives the camera a side-angle view of the lure. That's the shot you want. Looking straight down from the same hole shows you the back of your jig. Looking from the side shows you fish approaching it, eyeballing it, turning away, or committing.
Setting up the camera: the order that matters
Cold weather changes everything about small electronics. Lithium cells lose capacity in a hurry below freezing, screens lag, and condensation forms the second a cold housing goes back into a warm shelter. Here's the order I've landed on after a few hundred hours on ice.
- Charge at home, not in the car. A full charge on something like the CanFish CamX gives you around 138 minutes of runtime. In the cold, assume closer to 90. Plan your shoots accordingly.
- Drill two holes first. Fishing hole and camera hole. Twenty to sixty centimetres apart is about right. Any further and your cable starts fighting the ice edge.
- Lower the camera before you bait up. Let it settle, check the view on your phone, adjust depth. Once you start catching and handling fish, you don't want to also be wrestling a camera.
- Anchor the cable topside. A tackle box, a boot, a carabiner on a loop of paracord frozen into the ice — anything that keeps the camera from spinning. Spinning footage is useless footage.
- Mark depth on the cable. A strip of electrical tape every metre means you can drop the camera to a known depth without eyeballing it. In 8m of water, sitting 30cm above bottom means a lot.
About the WiFi
One thing worth understanding up front: WiFi doesn't travel through water. The CamX will broadcast about 50 metres through air, which is plenty. What it won't do is connect to your phone once the camera is two metres under the ice. The signal punches up through the hole and along the surface, so your phone needs line-of-sight to the hole itself. Lean over the hole, or set the phone on the ice near the opening. Sit five metres back, out of wind, behind a shelter wall, and the feed drops.
This catches people out every season. It's not a fault with the camera. It's water absorbing 2.4GHz radio the way your winter jacket absorbs cigarette smoke. The camera records internally to its 16GB card regardless, so your footage is safe either way. Live view just needs the phone close.
Positioning for perch, zander, and pike
Different species sit differently under ice, and the camera angle you want changes with your target.
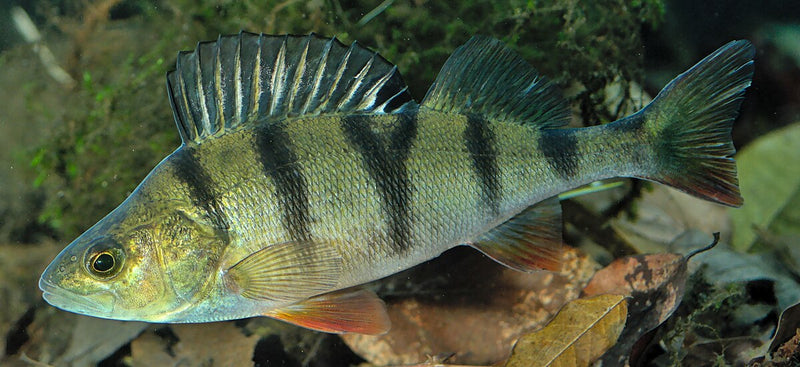
Perch
Perch school tight in winter and hug structure or the thermocline. In a 6-8m Latvian lake, they're often suspended halfway. Drop the camera to just above the school and angle it slightly downward. You'll see schools roll in, the dominant individuals peel off to inspect your jig, and the smaller ones hang back. Perch that flare their gills and charge are committed. Perch that turn side-on and drift past usually aren't. Knowing the difference saves you setting a hook on a chaser that was never going to take.
Zander (pike-perch)
Zander are bottom-oriented and low-light. On a bright afternoon, they'll be deep and sulky. Camera low, near the bottom, looking slightly up. Zander tend to approach lures from below or level. You'll see them cruise in slowly, stop, stare. The strike when it comes is fast. What the footage teaches you is that zander often stand under a jig for twenty or thirty seconds before committing — long enough that if you'd twitched it you might have spooked them. Dead sticking is a zander thing, and a camera makes you believe it.
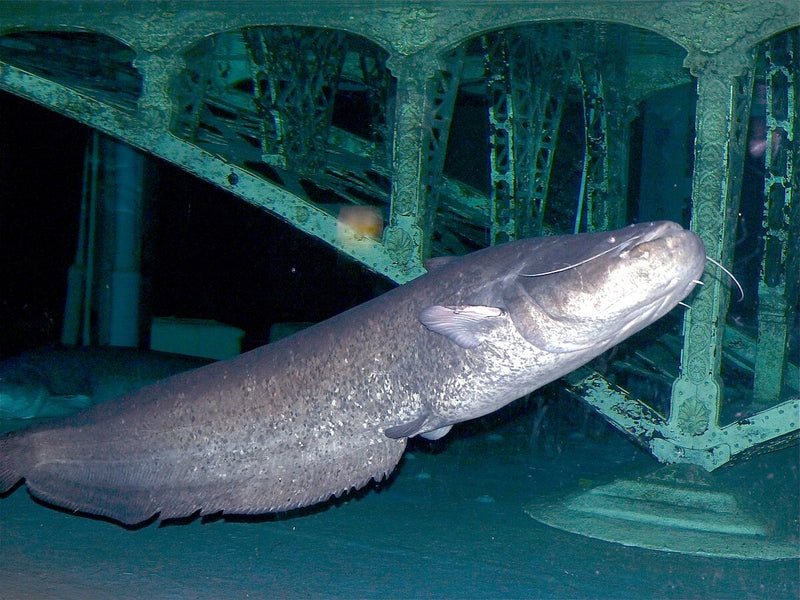
Pike
Pike are the opposite — opportunistic, and they come from a distance. Camera wider angle, facing whatever direction the weed line or drop-off is. A pike appears as a shadow in the frame, usually tracking in fast, often from above if there's still vegetation. Pike will follow a dead bait for a full minute before taking. Watching that happen on screen the first time is what sells people on having a camera at all.
What the footage actually teaches you
The change isn't that you catch more fish on day one. It's that you understand what happened on the days you blanked.
Three patterns show up repeatedly:
- Fish are there more often than you think. Most blank sessions aren't empty water. They're fish in the hole that declined to bite. That reframes the problem entirely. You're not searching anymore. You're presenting.
- Your jig action was probably too much. Look at footage of perch approaching a lure. The strike happens on the pause, not on the lift. Most of us jig too aggressively, too often, and drive fish away. The camera makes this obvious in about an hour.
- Bait colour matters less than bait profile. A fish commits based on silhouette and movement first, colour second. Switching from chartreuse to white at the same depth and cadence usually changes nothing. Switching from a 6cm to a 3cm bait changes everything.
The camera doesn't tell you where the fish are. It tells you why they didn't bite.
The cold-weather gotchas nobody mentions
Two things will catch you out in your first winter with a camera, and they're both preventable.
First, condensation. Walking a cold camera into a warm fishing shelter fogs the inside of the lens housing. If the housing is sealed (and a proper 200m-rated housing is), the fog can take half an hour to clear. Leave the camera outside the shelter, or in a sealed bag with a silica pack, until you're ready to pack up. On a day where you're moving between shelters, keep it in a cold dry bag at all times.
Second, cable freeze. Water on the cable turns to ice on the cable turns to rigid cable. When you pull the camera up through a hole with a frozen cable, the cable can scrape against the ice edge and the jacket will eventually abrade. Keep the first metre above the waterline wiped dry between drops if you're doing a lot of up-and-down. In practice, one drop per hole for three hours is fine.
Reading ice before you drill
The other thing a camera quietly does is teach you about your spot. Drop it before you drill your fishing hole. Let it sit there for ten minutes. You'll see the bottom composition — sand, silt, weed, rocks — and any fish traffic. If it's dead water and featureless mud, you'll know to move. That's a lot cheaper than drilling four holes and jigging each for an hour.
In March on Latvian lakes like Alūksne, the last-ice bite is structure-based. Perch school on the edges of weed beds that are still green where most of the lake's vegetation has died off. Without a camera, those edges are invisible from above. With one, you can find the live weed in twenty minutes and put your hole where the food is.
What you don't need
A few things worth saying plainly. You don't need a camera to catch fish through the ice. Anglers have been doing it for centuries without one. You don't need to film every session. Most of what a camera teaches you is absorbed in the first dozen outings, and after that it becomes a tool you pull out when you're stuck or scouting a new lake. You don't need a dedicated screen device — phones work fine.
You do need a camera that survives below-zero air and sub-4°C water for a full session, with enough battery to be useful and a housing that won't leak at 20m. That last spec matters more than any of the live-feed features, because every camera fails eventually. The one that fails at 3m is a toy. The one rated to 200m and used at 8m is a tool.
Your next trip
Pick a lake you already know. Fish it the way you always do, but drop a camera in a second hole a metre away and leave it recording. Review the footage that evening over a coffee. You'll be surprised twice — once at how much activity there was on a "slow" day, and once at how much of your own technique you want to change. That's a useful evening. Go again the following weekend with the corrections, and you'll see whether you were right.
For more field-tested notes from the Riga crew, the rest of the Field Notes archive covers open-water, kayak, and species-specific write-ups from anglers who've been running cameras in Baltic waters for a few seasons now.